My Eggplant Adventure on The Geek Recipe
In June 2023, Slitherine Games invited me to Milan, Italy to appear as a guest on their YouTube series The Geek Recipe, a cooking and interview show — it’s a bonkers concept but it works! Slitherine Games was a terrific host for my trip, and I had a great time talking to CMO Marco Minoli about my four-decade-long career in games, all while we were making eggplant parmesan.
Now dinner is served, as the first episode of The Geek Recipe’s second season has premiered on YouTube today. Buon appetito!
Games of War
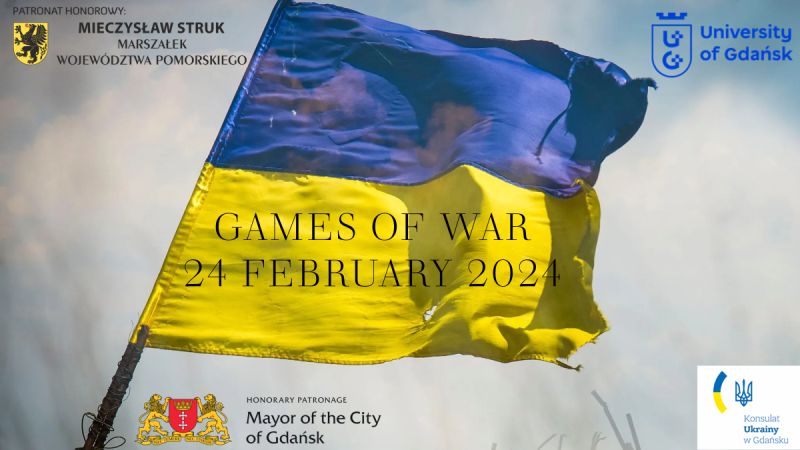
Last Saturday, I gave an online speech of support at Games of War, an international academic conference held at the University of Gdansk (Poland). This academic hybrid (on-site + online) conference was dedicated to exploring the intricate narratives and historical reflections in Ukrainian video games that respond to the Russian 2014/2022 invasion of Ukraine. Below is the text of my speech.
It is an honor to be virtually attending the Games of War international academic conference. I regret not being able to attend in person. I did visit Poland last summer and had a wonderful time in your country.
Of course, here on the second anniversary of the Russian invasion of Ukraine, it is Ukraine that is in our thoughts now. About three months before the invasion, I attended Games Gathering Kyiv and had the opportunity to become acquainted with Ukraine.
I toured the city and visited the St. Michael’s Golden-Domed Monastery, the Golden Gate, the National Opera house, and the Academic Puppet theater — but what made the biggest impression on me was Independence Square and the Independence Monument, commemorating the independence of Ukraine in 1991. I was moved by the stories of the political protests that had taken place at the square, and I was impressed by the passion and bravery of the people of Ukraine.
During the conference, I got to meet and become friends with many Ukranians. If they were concerned about the Russian army amassing beyond their borders, they didn’t show it. I myself couldn’t imagine that the Russians would actually go through with their plans to invade this wonderful country.
And yet, three months later, the Russians did the unthinkable. The Russian military swarmed the border and fired upon not only military targets, the Russian military deliberately targeted museums, churches and libraries that are important to the Ukrainian people.In the first months after the invasion the Russian army looted museums, stole art and destroyed churches with missiles and tank shells.
I feared for some of the places I had visited in Kyiv, but that was nothing compared to the tragic news that some of the friends I made in Ukraine had lost their homes… or their lives… to the Russian invaders. But the Ukranians proved not to be easily dominated, and their hearts have proved stronger than the Russian shells and rockets.
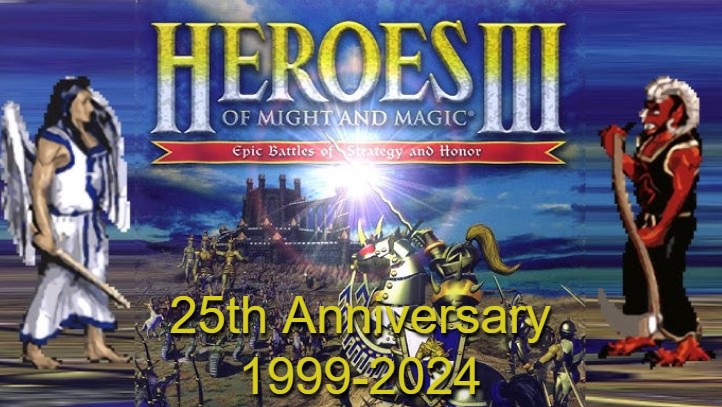
Still, it has been two years of trials and anguish for the Ukrainian people, and they have never been far from my thoughts. One encouraging bit of news I received from a Ukrainian journalist whom I had met during my visit was that playing Heroes of Might & Magic III had provided them with some relief during this difficult time.
Now, one might scoff at the notion that something as frivolous as playing a game could have any impact when something as serious as war was happening around you.
Yet Johan Huizinga, the Dutch historian who studied the play element of culture and society in his book Homo Ludens, said, “Play cannot be denied. You can deny, if you like, nearly all abstractions: justice, beauty, truth, goodness, mind, God. You can deny seriousness, but not play.”
Huizinga suggested that play is primary to and a necessary condition of the generation of culture. And I think that it is a far stronger force than that of the Russian weaponry attempting to destroy it.
But play is not just important for culture, it is also important to us as individuals. As the German playwright Friedrich Schiller said, ““Man only plays when (in the full meaning of the word) he is a man, and he is only completely a man when he plays.” We are not completely human without play; we need play to be complete — especially in inhuman times like these.
But what is it about games that make us complete? For that, I’ll turn to game designer Jane McGonigal. In her 2010 Ted Talk “Gaming Can Make For A Better World”, McGonigal observed that it is said that one needs to spend 10,000 hours doing something to become an expert at it. Well, gamers easily spend more than 10,000 hours of their lives playing games, so what is it that they are becoming experts at.
Here is what she determined.
Gamers develop what she calls “urgent optimism”, the desire to act immediately to tackle an obstacle, combined with the belief that they have a reasonable hope of success. Rather than being discouraged by failure, they get up and continue to try again until they succeed.
Gamers are also optimized as human beings to do hard and meaningful work. Engaged in what McGonigal calls “blissful productivity”, gamers are willing to work hard all the time if given the right type of work to do. Gamers will stick with a problem for as long as it takes.
When gamers play games together, they build up bonds of trust and cooperation. In the social fabric of gaming, they build stronger social relationships and are inspired to collaborate and cooperate.
Gamers also love to be attached to awe-inspiring missions, to save the world around them. They are motivated to do things that matter.
Urgent optimism, blissful productivity, social fabric, and epic meaning — aren’t these all things that will make people resilient at a time of war. I think we need games now more than ever.
But what of game developers? What motivates them to make games? In my own case, I got into game development as an outlet for creative expression. The first hit game I made, The Prisoner, was a metaphor for things I wanted to say about standing up to authority and maintaining your individuality when all of society is pressuring you to be obedient and submissive.
In most of the games I’ve made since, I’ve tried to share something I’ve learned or something I’ve cared about. Games are my Independence Square for expressing my thoughts and opinions.
So, I find it not at all surprising that many Ukrainian game developers and their supporters have developed games inspired by the Russian invasion of Ukraine. To my fellow game developers, I say:
Use our medium to tell inspiring, epic stories of tragedy and triumph.
Make missions that matter in your strategy games. There is a world to save.
Push your players to the limit. Players love to be challenged, but you can challenge their hearts, as well as their reflexes and minds.
And seek out collaborators to help you tell your story and theirs. Game development is a team effort, and if you need help in developing your game, there are others out there who would love to be a part of something meaningful.
As for the academics and researchers attending this conference, you need no reminders that Ukrainians have managed to find a remarkable balance between war, work, and life. The rest of us have much to learn from them.
In particular, I am eager to find out what you do learn from looking through the lens of the games of war they have developed and what understanding you gain from how they have portrayed and interpreted the historical events unfolding around them. I look forward to hearing the results of your discussions today about how digital storytelling has intersected with history and conflict.
The Russian invasion may have been a military attempt to erase Ukraine’s history, culture and heritage, but with the good work that the Ukranians continue to do, and with conferences like this to shine a light on it, it is Ukraine who will be triumphant in the end.